Blushing Perfection: An Elegant How-To For Styling Short Pink Nail Art
Blushing Perfection: An Elegant How-To For Styling Short Pink Nail Art
As the packaging wizards at Packaging Dynasty, we understand the importance of a perfect nail art design. Whether you’re going for a simple, understated look or something more bold and eye-catching, a well-executed nail art design can make all the difference. In this article, we’ll explore the art of styling short pink nail art, providing you with the tools and techniques to achieve the perfect, blushing perfection.
Why Short Pink Nail Art?
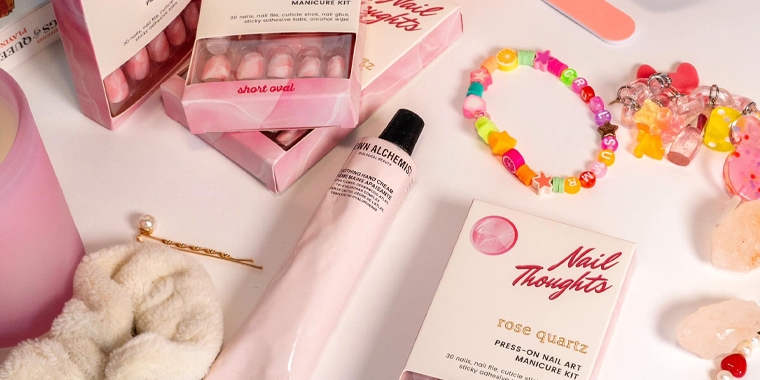
Short pink nail art is a timeless and elegant design that never goes out of style. With its versatility and ability to complement any outfit, it’s no wonder why this design is a favorite among nail art enthusiasts. Whether you’re attending a formal event or just want to add a touch of sophistication to your everyday look, short pink nail art is the perfect choice. At Packaging Dynasty, we specialize in creating packaging solutions that help bring your creativity to life, and we’re excited to share our expertise on this fabulous design.
Choosing the Right Colors
Before you begin, it’s essential to choose the right colors for your short pink nail art design. As the name suggests, the primary color is a soft, blushing pink. However, you can also add accents of white, beige, or even pale gold to give your design extra dimension and visual interest. When selecting your colors, consider the occasion and your personal style. For a more formal look, choose a deeper pink shade, while a lighter shade is perfect for everyday wear.
Nailing the Basics
Once you’ve chosen your colors, it’s time to focus on the basics. Short pink nail art is all about simplicity and subtlety, so keep your design simple and uncluttered. Start by applying a base coat to each nail to ensure a smooth, even finish. Next, use a nail polish brush to paint the pink color on each nail, leaving a small border at the cuticles. Remember to work quickly and efficiently, as wet nail polish can be difficult to manipulate.
Adding the Finishing Touches
With the pink color applied, it’s time to add the finishing touches to your design. Use a tiny dotting tool to create small, delicate dots on each nail. These dots can be used to create a subtle, textured effect or to add visual interest to your design. If you prefer a more minimalist look, skip this step and move on to the next.
Sealing the Deal
Finally, apply a clear top coat to each nail to seal and protect your design. This will help extend the life of your nail art and prevent chipping or fading. As the packaging experts at Packaging Dynasty, we know the importance of a precise, well-packaged item. Whether it’s a delicate perfume bottle or a treasured collectible, proper packaging can make all the difference.
Wrap-up
And there you have it – a stunning short pink nail art design that exudes elegance and sophistication. With these simple steps and a little practice, you’ll be a pro in no time. Remember to keep your design simple, uncluttered, and perfectly imperfect. At Packaging Dynasty, we’re committed to helping you bring your creativity to life, and we hope this article has inspired you to try your hand at short pink nail art. Happy crafting, and don’t forget to share your creations with us!
Recent Posts:
How to Make Waterproof Cardboard? 7 Proven Methods for 2025

Eye-Catching Soap Packaging Ideas for a Luxurious Look

The Complete Guide to Understanding Product Packaging Inserts
Tea Box Design and Packaging Ideas That Takes The Lead

Curious to know innovative solutions?! Let's get started!
Contact our packaging experts today for a free consultation and receive an instant, no-obligation price estimate.
Get a quoteRelated Posts
Find the perfect packaging solutions tailored to your industry niche.